by adding Google Drive to Windows File Explorer, we can access all our documents in the cloud without having to visit the Drive website in our browser. This saves too much time both to view files and also to save them; because it was part of the system and we can enter Google Drive as if it were any other folder.
How to Link Google Drive to Windows File Explorer
The first thing we will have to do is open our preferred web browser and go to the official Google Drive website to download the client. Once we are on this page, we will have to click on “Download Drive for desktop”.
Once the file is downloaded, we will have to double click to run the installer. A pop-up window will appear that is the user account control, we simply click on “Yes”.
Now we would be in the Google Drive installation wizard. Here it will ask us Install Google Drive? We will choose yes and the shortcuts will be automatically created on the desktop. Then we will click on “Install”.
Once we have the application installed, we will see a new “Login” window, so we will click on “Login with the browser”.
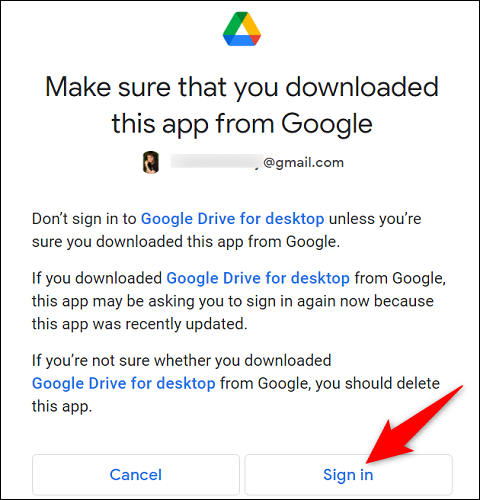
Immediately, the web browser that we have by default on our computer opens and it will take us directly to the Google website. Here we will be asked for permissions so that the app can access our Drive files. We can activate it by clicking on “Login”.
Google will display a new message indicating that the account was successfully linked. Now we can close this browser window.
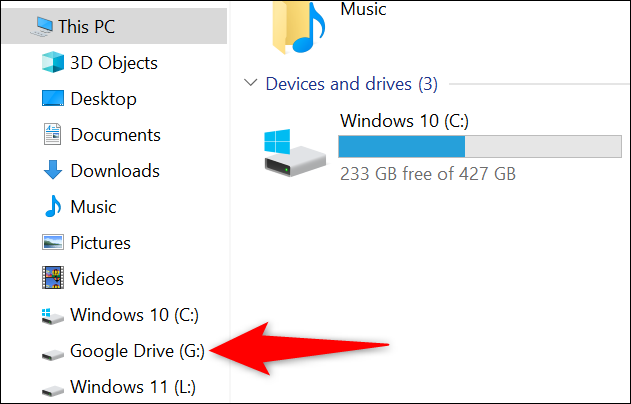
In this simple way, we have already managed to add Google Drive to our File Explorer. Now we can access it by opening any folder from the left sidebar or using the Windows + E keyboard shortcut.
Sync Google Drive account
In order to manage Drive files on our computer, the service offers us two synchronization methods.
The first is “Transmission”, which gives us the possibility to manually download files to our computer. In case we want to keep the PC storage free, this is the method that we should choose.
The other is called “Mirror” or “Espejo”, which will keep the files on our computer and in the Google Drive account. Obviously, if we have too many files on our PC, Drive’s cloud storage will fill up too quickly; so we must take this into account.
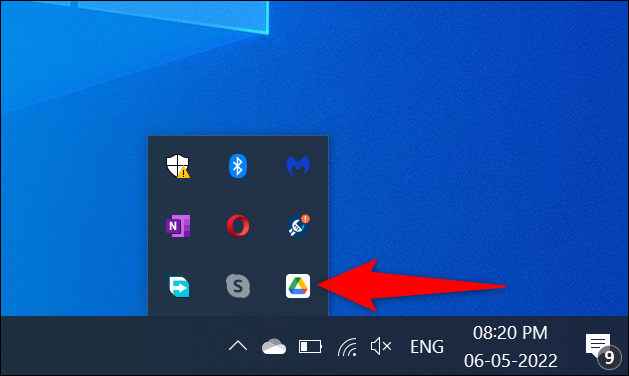
After having decided which method we are going to use, we will have to configure it in the Drive app. To achieve this, we are going to have to click on the application icon from the system tray that is located at the bottom right of the screen, near the clock.
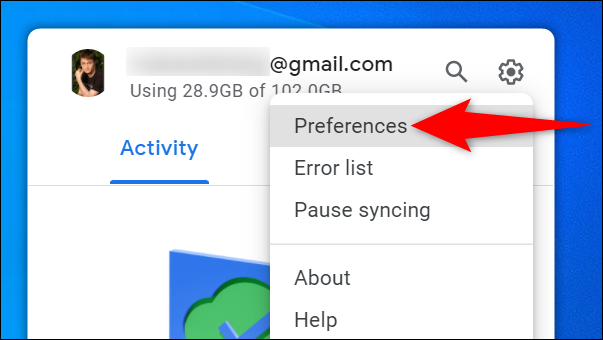
From here we are going to have to click on the gear icon and we are going to choose “Preferences”.
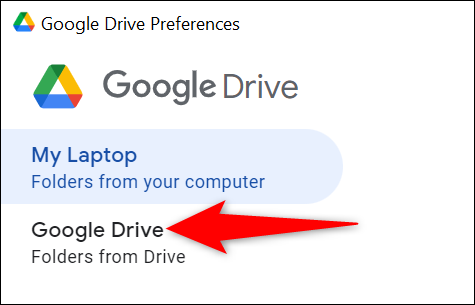
A new window opens and in the sidebar we will choose “Google Drive”.
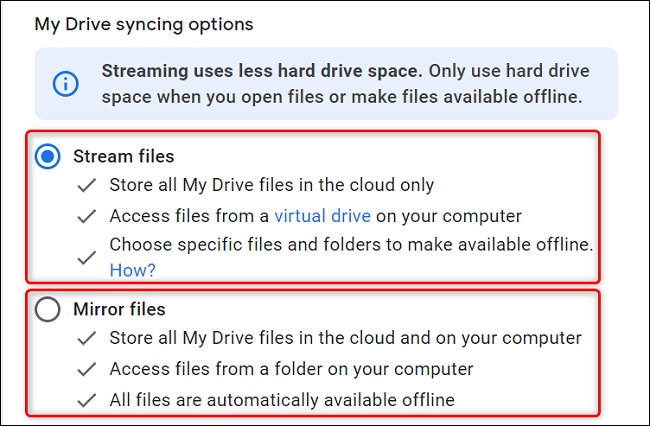
Now we go to the right panel and we can choose any of the two options mentioned above.